VoidAuth
VoidAuth - https://github.com/voidauth/voidauth
Compose File
networks:
  dockerapps-net:
    external: true

services:
  voidauth:
    image: voidauth/voidauth:latest
    container_name: voidauth
    networks:
      dockerapps-net:
        ipv4_address: 172.20.0.37
        ipv6_address: fd00:dead:beef:2::37
    user: "${PUID}:${PGID}"
    volumes:
      - ./config:/app/config
      - ./db:/app/db
    ports:
      - "3002:3000"
    environment:
      - APP_URL=https://auth1.${ROOT_DOMAIN}
      - PASSWORD_STRENGTH=${PASS_STRENGTH}
      - APP_TITLE=${APP_TITLE}
      - STORAGE_KEY=${VOIDAUTH_STORAGE_KEY}
      - DB_ADAPTER=sqlite
    restart: unless-stopped
Initial Admin Username/Password
Immediately after docker compose up, check docker logs voidauth for the initial admin username and password. We will need to note them down and either change the username and password or create a new admin user for ourselves, which we then add to the auth_admins group. Afterwards we may delete the auth_admin user.
CaddyFile
Add Snippets in Caddyfile
# 4. VOIDAUTH (The Doorman)
(voidauth) {
    forward_auth voidauth:3000 {
        uri /api/authz/forward-auth
        copy_headers Remote-User Remote-Groups Remote-Name Remote-Email
    }
}
Import snippet into sites
# 2. SEERR (Requests)
requests.{$ROOT_DOMAIN} {
    tls {
        dns cloudflare {env.CLOUDFLARE_API_TOKEN}
        resolvers 1.1.1.1
    }
    import logging
    import security

    # VoidAuth
    import voidauth

    reverse_proxy http://seerr:5055 {
        header_up X-Real-IP {remote_host}
    }
}
Create site for voidauth instance
# 5. VOIDAUTH (Identity Provider)
auth1.{$ROOT_DOMAIN} {
    tls {
        dns cloudflare {env.CLOUDFLARE_API_TOKEN}
        resolvers 1.1.1.1
    }

    # Enables writing to access.log for CrowdSec
    import logging
    import security

    reverse_proxy voidauth:3000
        header_up Host {host}
        header_up X-Real-IP {remote_host}
}
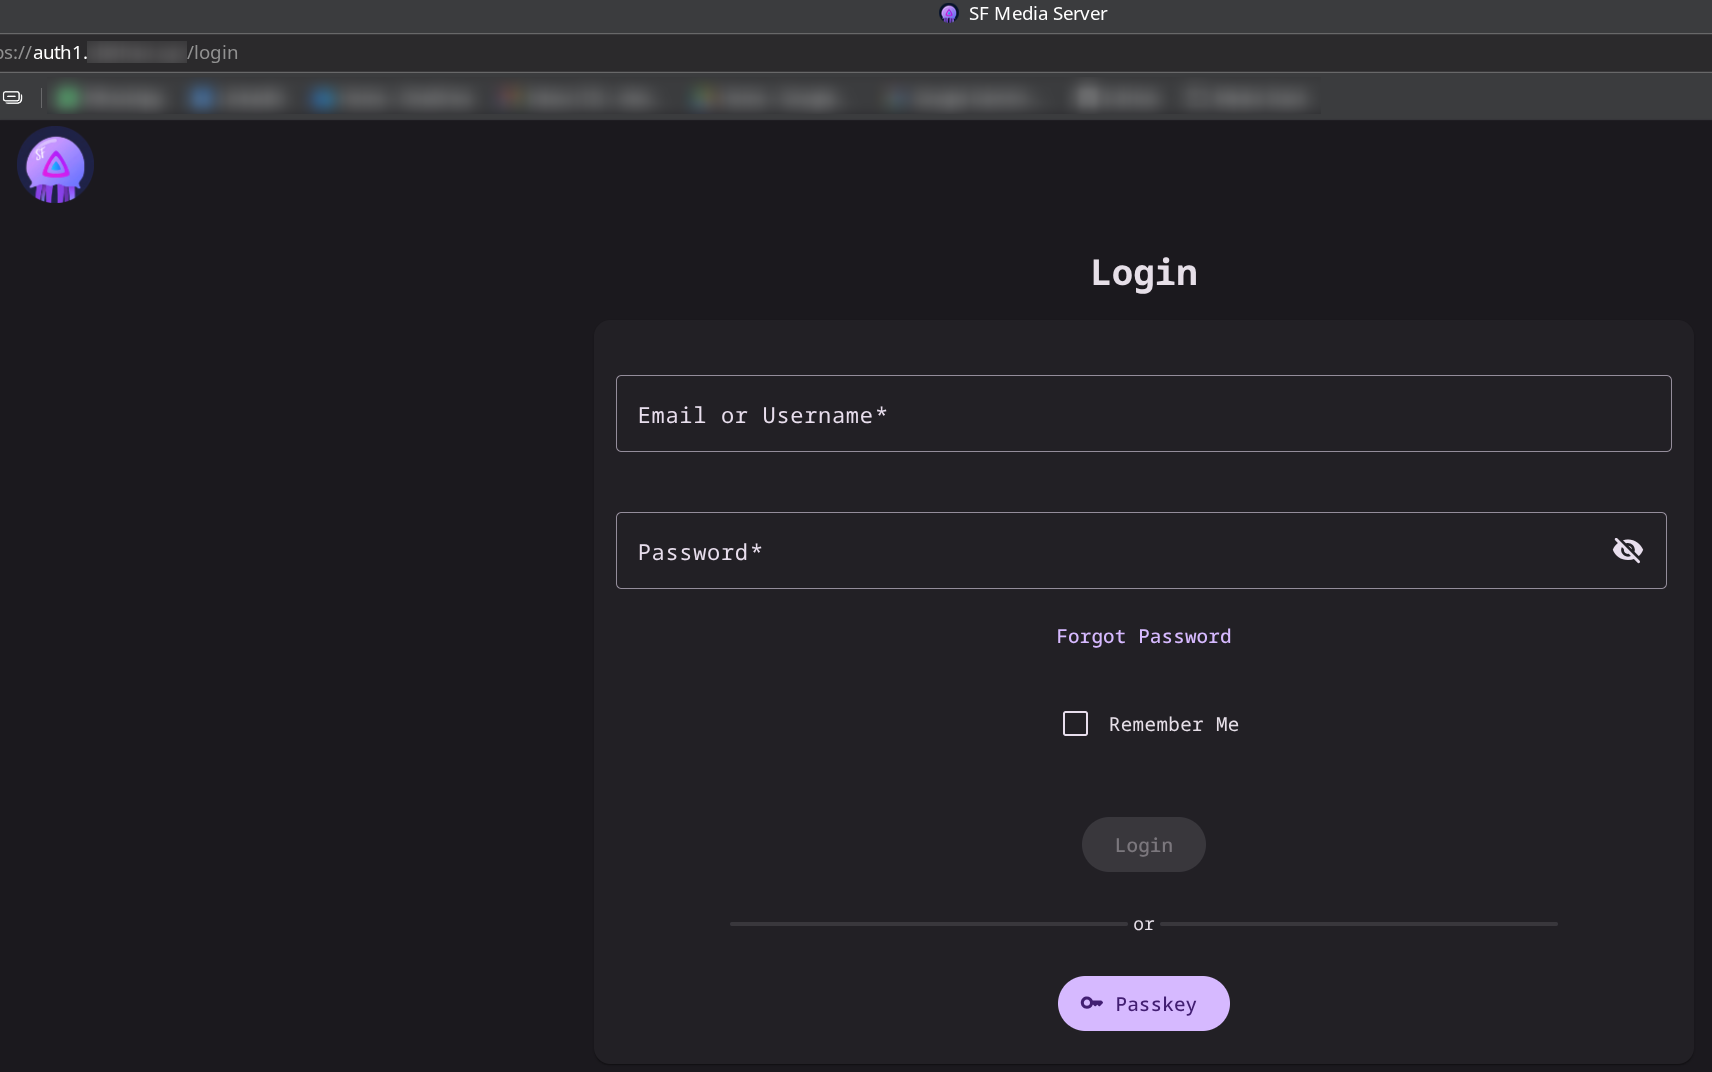
Going to auth1.domain.xyz will now bring us to Voidauth's instance / landing page:
Add Users - via "Invitations"
-
Since this media server is for family and friends, I will simply create their username (I made it same as per their Seerr and Jellyfin username/password).
-
Create a Group (named: Media)
-
From the
Invitationssection,Create Invitation- enter username, name and group -
Copy Paste the
Invite Linkonto new browser and enter their password. This would mean the users would now be created and part of Media group. -
Inform family and friends their username and password accordingly
Add ProxyAuth Domains
- Enter the site eg: requests.domain.xyz and tag
Mediagroup
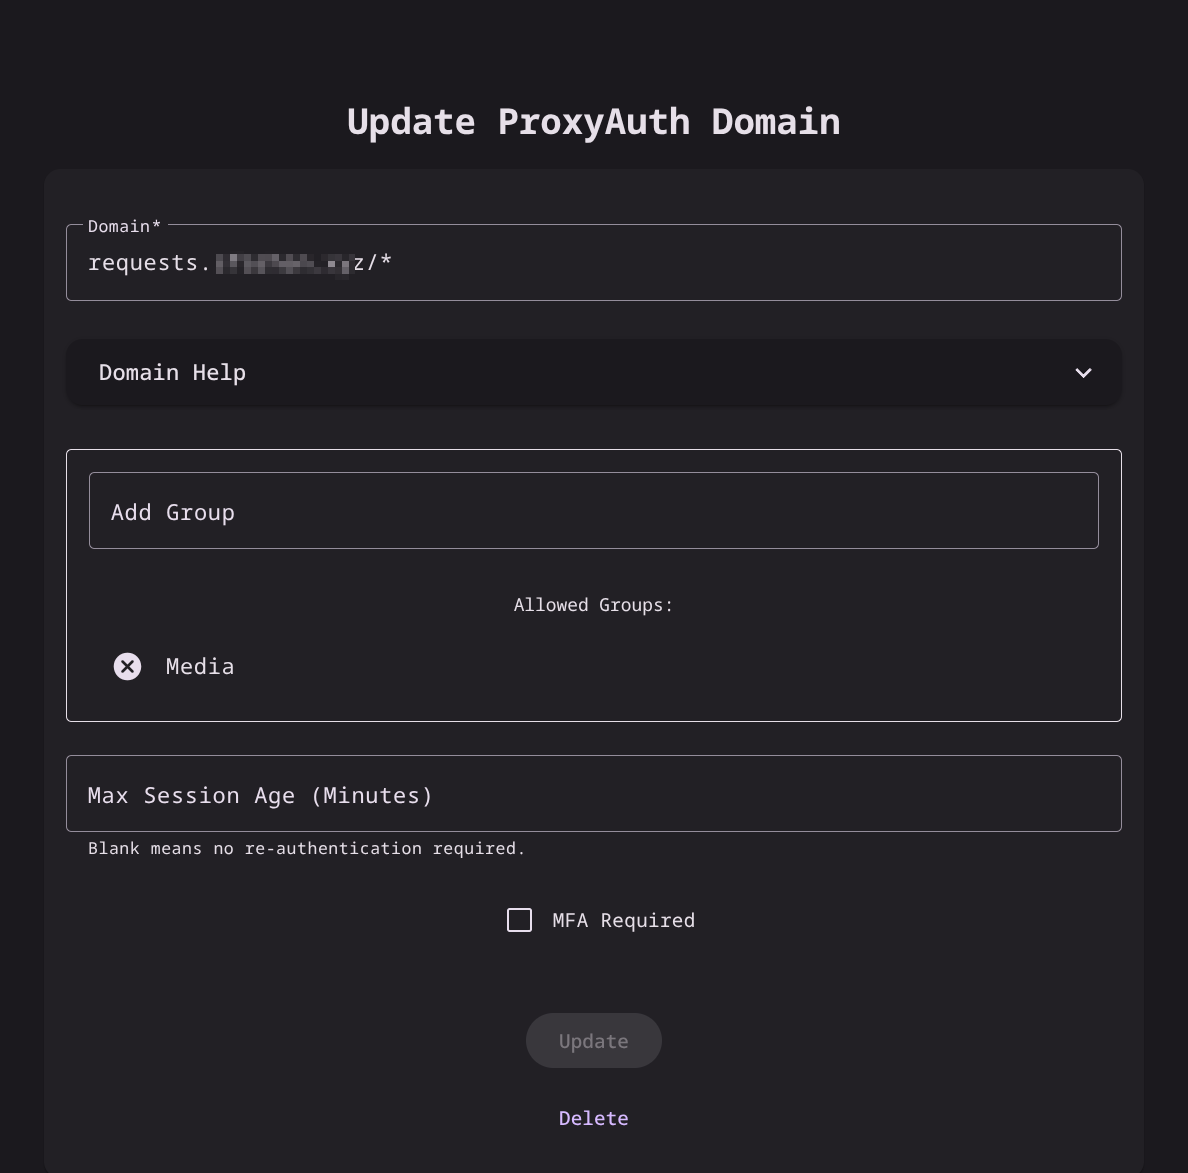
- Add other sites accordingly.

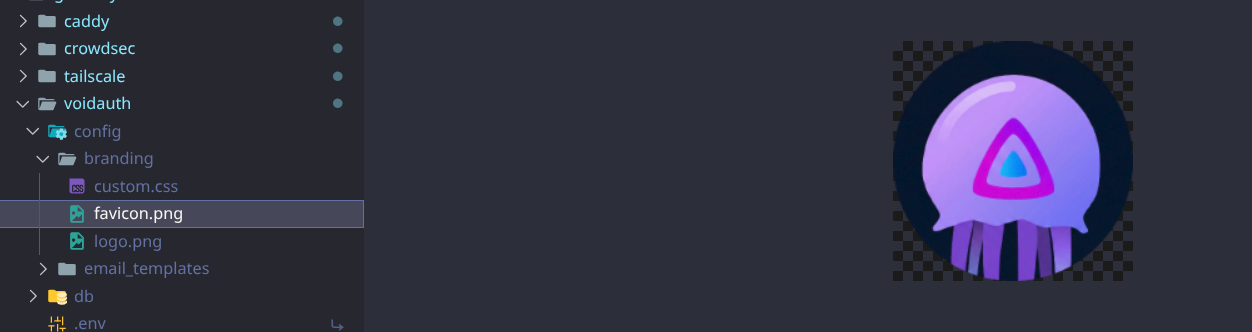
Add own logo and favicon
- In Voidauth's config/branding folder, add the favicon.png and logo.png